
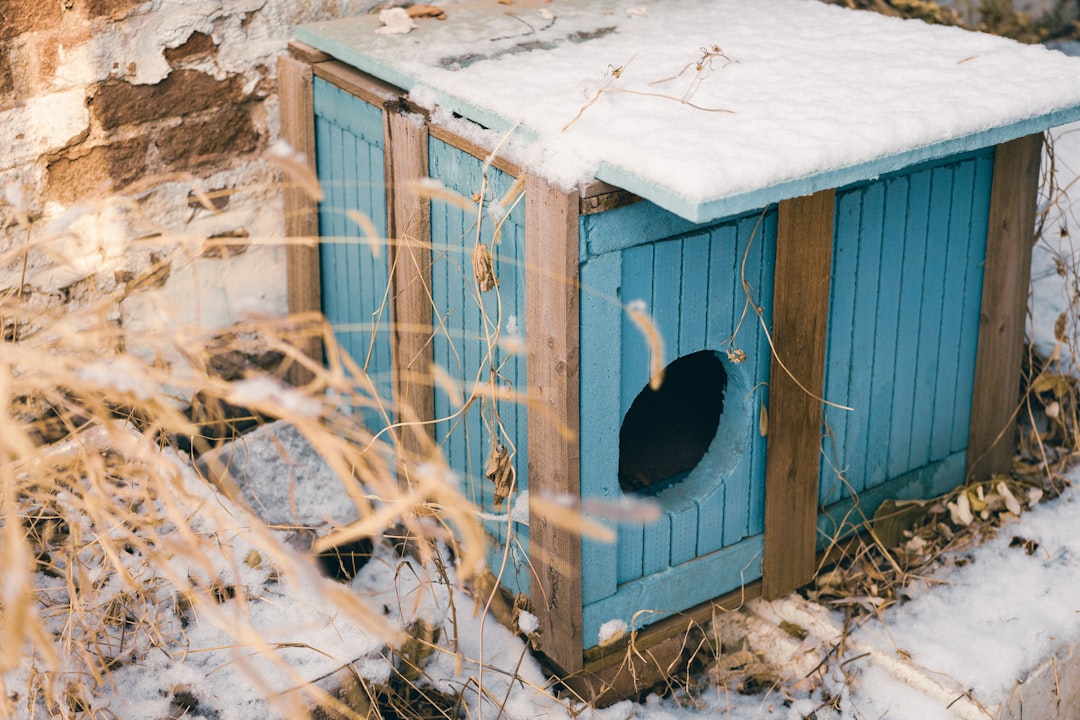
A genuinely effective winter shelter for outdoor cats costs surprisingly little and takes about 30 minutes to build — here’s the design that colony caretakers actually rely on.
The Basic Design
The simplest, most effective DIY approach uses two nested plastic storage totes — a smaller one placed inside a larger one — with straw packed into the gap between them. The trapped air and straw layer acts as insulation, helping retain the cat’s own body heat. This whole setup typically costs about $20 to $35.

Materials You’ll Need
- Two plastic storage bins, one small enough to nest inside the other
- Straw for insulation (never hay — more on why below)
- Optional: Styrofoam sheets or reflective Mylar for extra insulation
- 2x4s or similar material to elevate the shelter off the ground
Building the Entrance
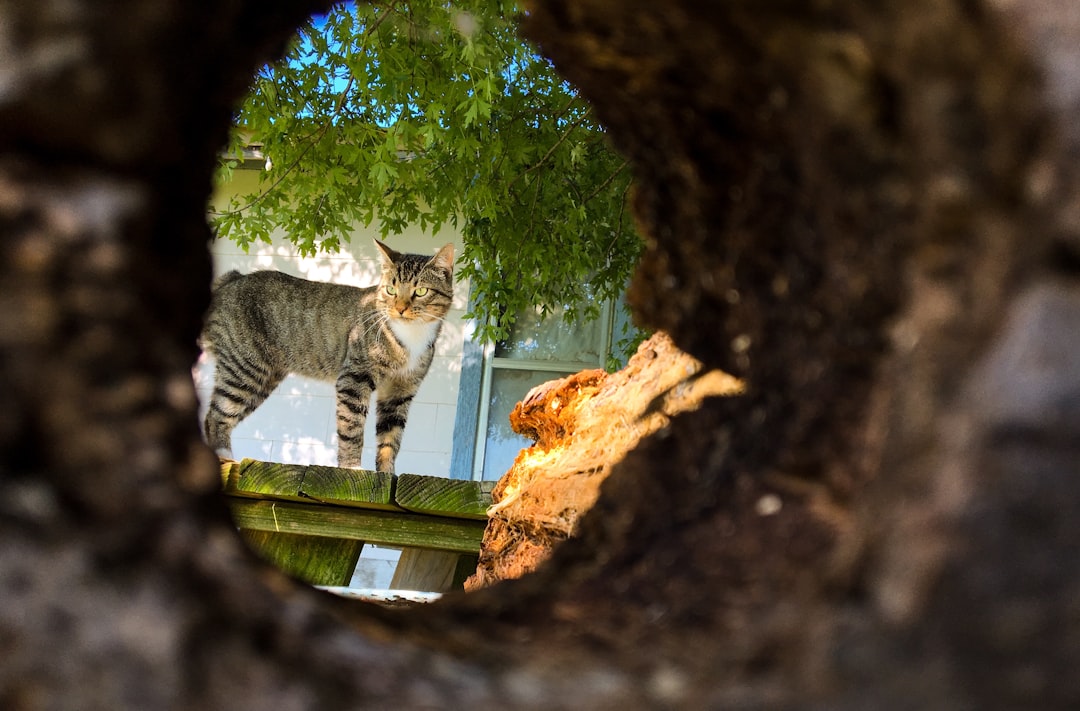
Aim for an opening about 6 inches wide, positioned a few inches above the bottom of the shelter rather than flush with the floor — this small detail helps keep cold air, rain, and snow from blowing straight in every time a cat comes or goes.
The Insulation Layer
Center the smaller bin inside the larger one so there’s space on all sides, then pack straw into that gap. Fill the bottom of the inner bin with straw as well, creating a cozy space cats can burrow into. Straw repels moisture and resists mold, while hay — despite sounding like a reasonable substitute — absorbs moisture and can mold, making it a genuinely bad choice for this purpose.
One Critical Detail: Elevation
Don’t place the shelter directly on cold ground. Raise it a few inches using two 2x4s or similar materials, with straw underneath, so the cat’s body heat has a real chance of warming the interior instead of losing it straight into frozen ground.
Optional Extra Protection
For added insulation in especially cold climates, a Styrofoam sheet placed under the floor and Mylar emergency blankets layered beneath the straw bedding both add meaningful extra protection without much added cost or complexity.
Where This Fits Into Colony Care
Winter shelter is one piece of ongoing colony caretaking — see our full guide to becoming a community cat colony caretaker for feeding routines, medical care, and getting permission to care for cats on a property you don’t own.
Placement: Where to Put the Shelter
Location matters as much as construction. Place shelters in a quiet, low-traffic spot that’s still accessible to the colony’s established feeding area, ideally against a wall, fence, or other structure that blocks at least one side from prevailing wind. Avoid open areas fully exposed to the elements, and if possible, position the entrance away from the direction storms typically come from in your area, which further reduces how much wind and precipitation makes it inside.
How Many Shelters a Colony Actually Needs
A single shelter is rarely enough for a colony of more than one or two cats, since cats don’t always want to share close quarters with every other colony member, particularly during territorial disputes or when a cat is feeling unwell. A reasonable rule of thumb is one shelter for every one to two cats in the colony, spaced out somewhat rather than clustered in a single spot, giving each cat a real choice of where to take shelter rather than forcing them into unwanted proximity.
Maintaining Shelters Through the Season
A winter shelter isn’t a one-and-done project — straw compacts and can get damp over the course of the season, especially after a period of heavy rain or snow, so checking and refreshing the insulation every few weeks keeps it actually effective rather than just present. Caretakers who build shelters early in fall and then never revisit them often find the insulation has degraded significantly by the coldest part of winter, right when it matters most.
Alternative Materials If You Can’t Find Straw
If straw isn’t readily available in your area, cedar shavings are a reasonable substitute since they also resist moisture and offer some natural pest-repelling properties, though they’re typically more expensive than straw for the same coverage. Avoid blankets or towels as a primary insulation layer despite how cozy they might look — fabric absorbs and holds moisture much like hay does, working against the shelter’s core purpose rather than supporting it.
Signs Cats Are Actually Using the Shelter
It can take a little time for cats to discover and trust a newly placed shelter, so don’t be discouraged if it looks unused for the first several days. Flattened straw, paw prints in dust or light snow near the entrance, and simply observing a cat entering or exiting during a feeding visit are all good signs the shelter is being used. If a shelter genuinely goes unused for several weeks, consider whether its placement is too exposed, too far from the established feeding area, or too close to a perceived threat like heavy foot traffic or another animal’s territory.
A Quick Note on Cost-Sharing
If you’re caring for a larger colony and the cost of multiple shelters feels like a stretch, reaching out to a local TNR organization or rescue is worth doing — many maintain small supply funds or can connect caretakers with donated materials specifically for winter shelter builds, since keeping colonies healthy through cold months benefits the whole community’s TNR efforts, not just one caretaker’s individual colony.
A well-built, well-placed, and well-maintained shelter is a genuinely small investment of time and money against the real difference it makes for a colony’s survival through the coldest months of the year.
Frequently Asked Questions
How much does a DIY winter cat shelter cost?
Around $20 to $35 using two nested plastic totes and straw insulation — one of the cheaper, more effective options available.
Why straw instead of hay?
Straw repels moisture and resists mold, while hay absorbs moisture and can mold — hay is actually a poor, potentially harmful choice despite sounding similar.
How big should the entrance hole be?
About 6 inches wide, placed a few inches above the bottom of the shelter to help keep cold air, rain, and snow from blowing directly in.
Does the shelter need to be elevated off the ground?
Yes — raising it a few inches with 2x4s or similar materials, with straw underneath, helps the cat’s own body heat warm the interior instead of losing it to the cold ground.
Helping Community Cats Through Winter
Cats By The Tracks supports community cat caretakers throughout the Central Valley.